Interface tour
Before you start building, let’s get oriented. This quick tour shows you where everything is in the Bricks builder interface.
Open the builder
Section titled “Open the builder”Let’s create a Home page so you can follow along:
- In your WordPress dashboard, go to Pages > Add New
- Give it a title: “Home”
- Click Edit with Bricks
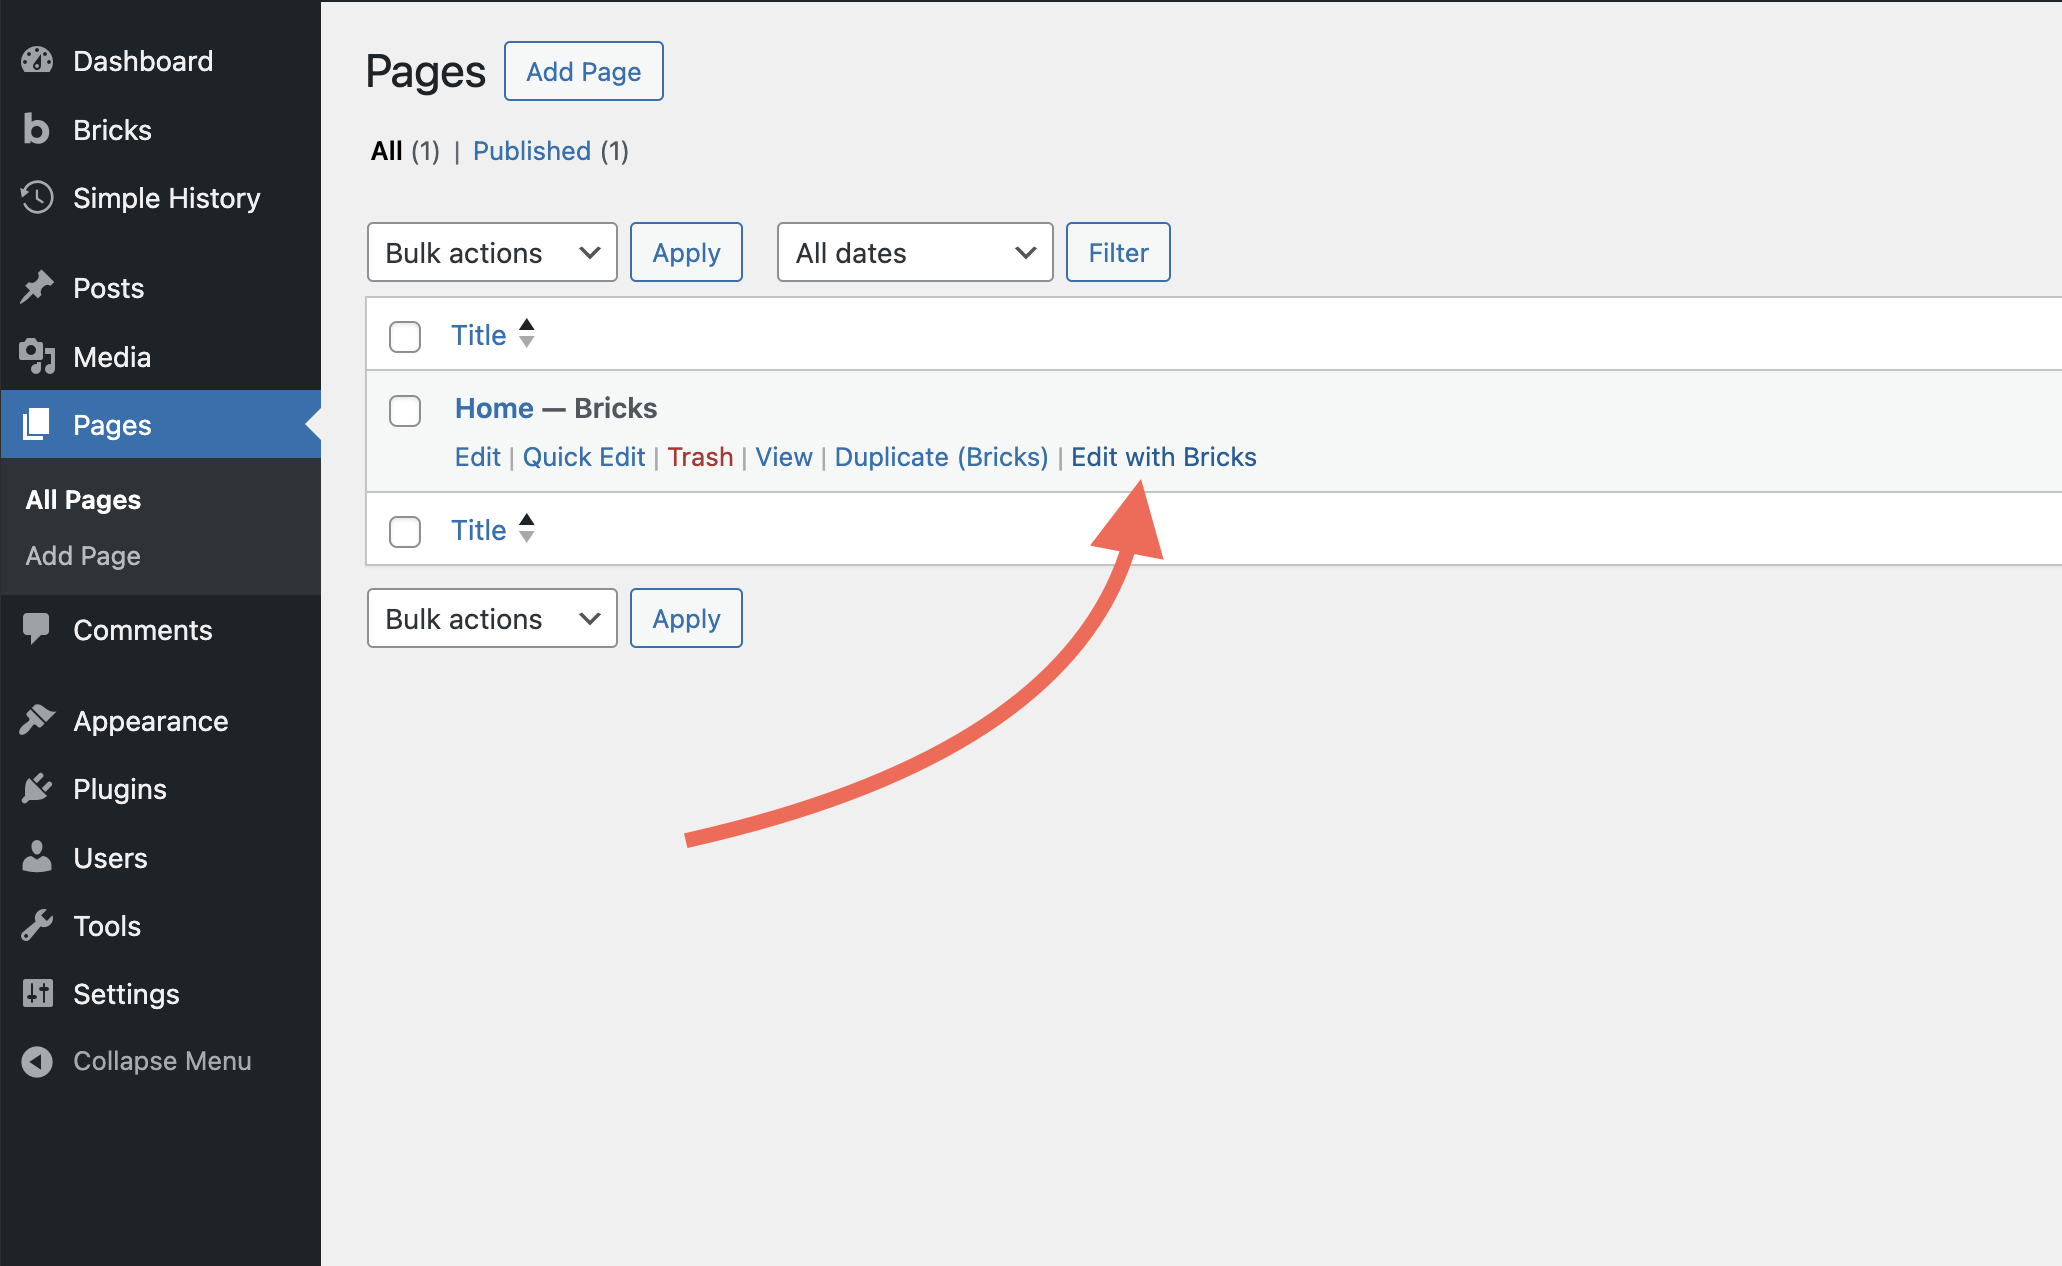
The builder opens. This is where you’ll build your site.
![]()
The interface
Section titled “The interface”The builder has four main areas: Toolbar (top), Settings Panel (left), Canvas (center), and Structure Panel (right).
A simple mental map:
- Toolbar = global tools and actions
- Settings Panel = what you can add or how you style what is selected
- Canvas = what you are currently designing (page or template)
- Structure Panel = the outline of your HTML structure
Toolbar
Section titled “Toolbar”The toolbar at the top is always visible. Here’s what the main icons do:
![]()
- Bricks logo - Open the link configured in Bricks settings (defaults to the WordPress dashboard; you can change this later)
- Styles - Open the Style Manager, where you manage classes, variables, colors, typography scales, and spacing scales (
Cmd/Ctrl + .) - Pages - Switch between pages while staying in the builder
- Templates - Open the template library and your saved templates
- Manage - Access builder-related settings and tools
- Command palette - Search for elements and actions (
Cmd/Ctrl + K) - Elements / Components - Toggle the elements and components panel
- Reload canvas - Reload the preview if something looks out of sync
- Breakpoints and preview size - Switch between desktop, tablet, and mobile editing and adjust the preview width
- Undo / Redo - Step backward or forward through changes
- Structure - Toggle the Structure Panel on the right
- Edit in WordPress - Jump back to the WordPress editor for this page
- View on front end - Open the current page on the front end in a new tab
- Preview mode - Hide builder overlays so you can see a cleaner preview
- Save - Save your work
Settings panel (left)
Section titled “Settings panel (left)”This panel changes based on what you’re doing.
By default: Shows all available elements you can add (Layout, Basic, Media, WordPress, etc.)
When element selected: Shows that element’s controls (typography, colors, spacing, etc.)
When Theme Styles clicked: Shows global design settings
When Page settings clicked: Shows page-specific settings
Canvas (center)
Section titled “Canvas (center)”Your visual workspace. This is where you build your page or template.
- Drag elements from the Settings Panel onto the canvas
- Click elements to select them
- Selected elements show a blue outline
- Changes update in real-time
- Right-click for quick actions (duplicate, delete, etc.)
Important: The canvas shows your design accurately, but always preview on the front end to see the final result.
Structure panel (right)
Section titled “Structure panel (right)”Shows the hierarchy of everything on your current page as a nested tree.
Section └─ Container ├─ Heading ├─ Text └─ ButtonWhy this is useful:
- Click elements here instead of hunting for them on the canvas
- Drag to reorder elements or change hierarchy
- See your page structure at a glance
You can toggle it on/off with the tree icon in the toolbar, but most people keep it visible.
What you’ve learned
Section titled “What you’ve learned”You now know:
- Where the toolbar, settings panel, canvas, and structure panel are
- What each area shows