Settings and defaults
Most of your time with Bricks will be spent in the builder (where you design visually). However, some settings are more global in nature and don’t need frequent changes. These live in the WordPress admin area under Bricks > Settings.
When we say “Bricks settings,” we’re referring to these admin settings, not the builder interface.
Bricks tries to be less opinionated and gives you the freedom to customize as you see fit. But for this getting started series, we’re being more opinionated with recommended defaults that will make your life easier!
Access Bricks settings
Section titled “Access Bricks settings”Go to Bricks > Settings in your WordPress dashboard.
You’ll see several tabs. Most settings are intuitive, but here’s what matters most when starting out.
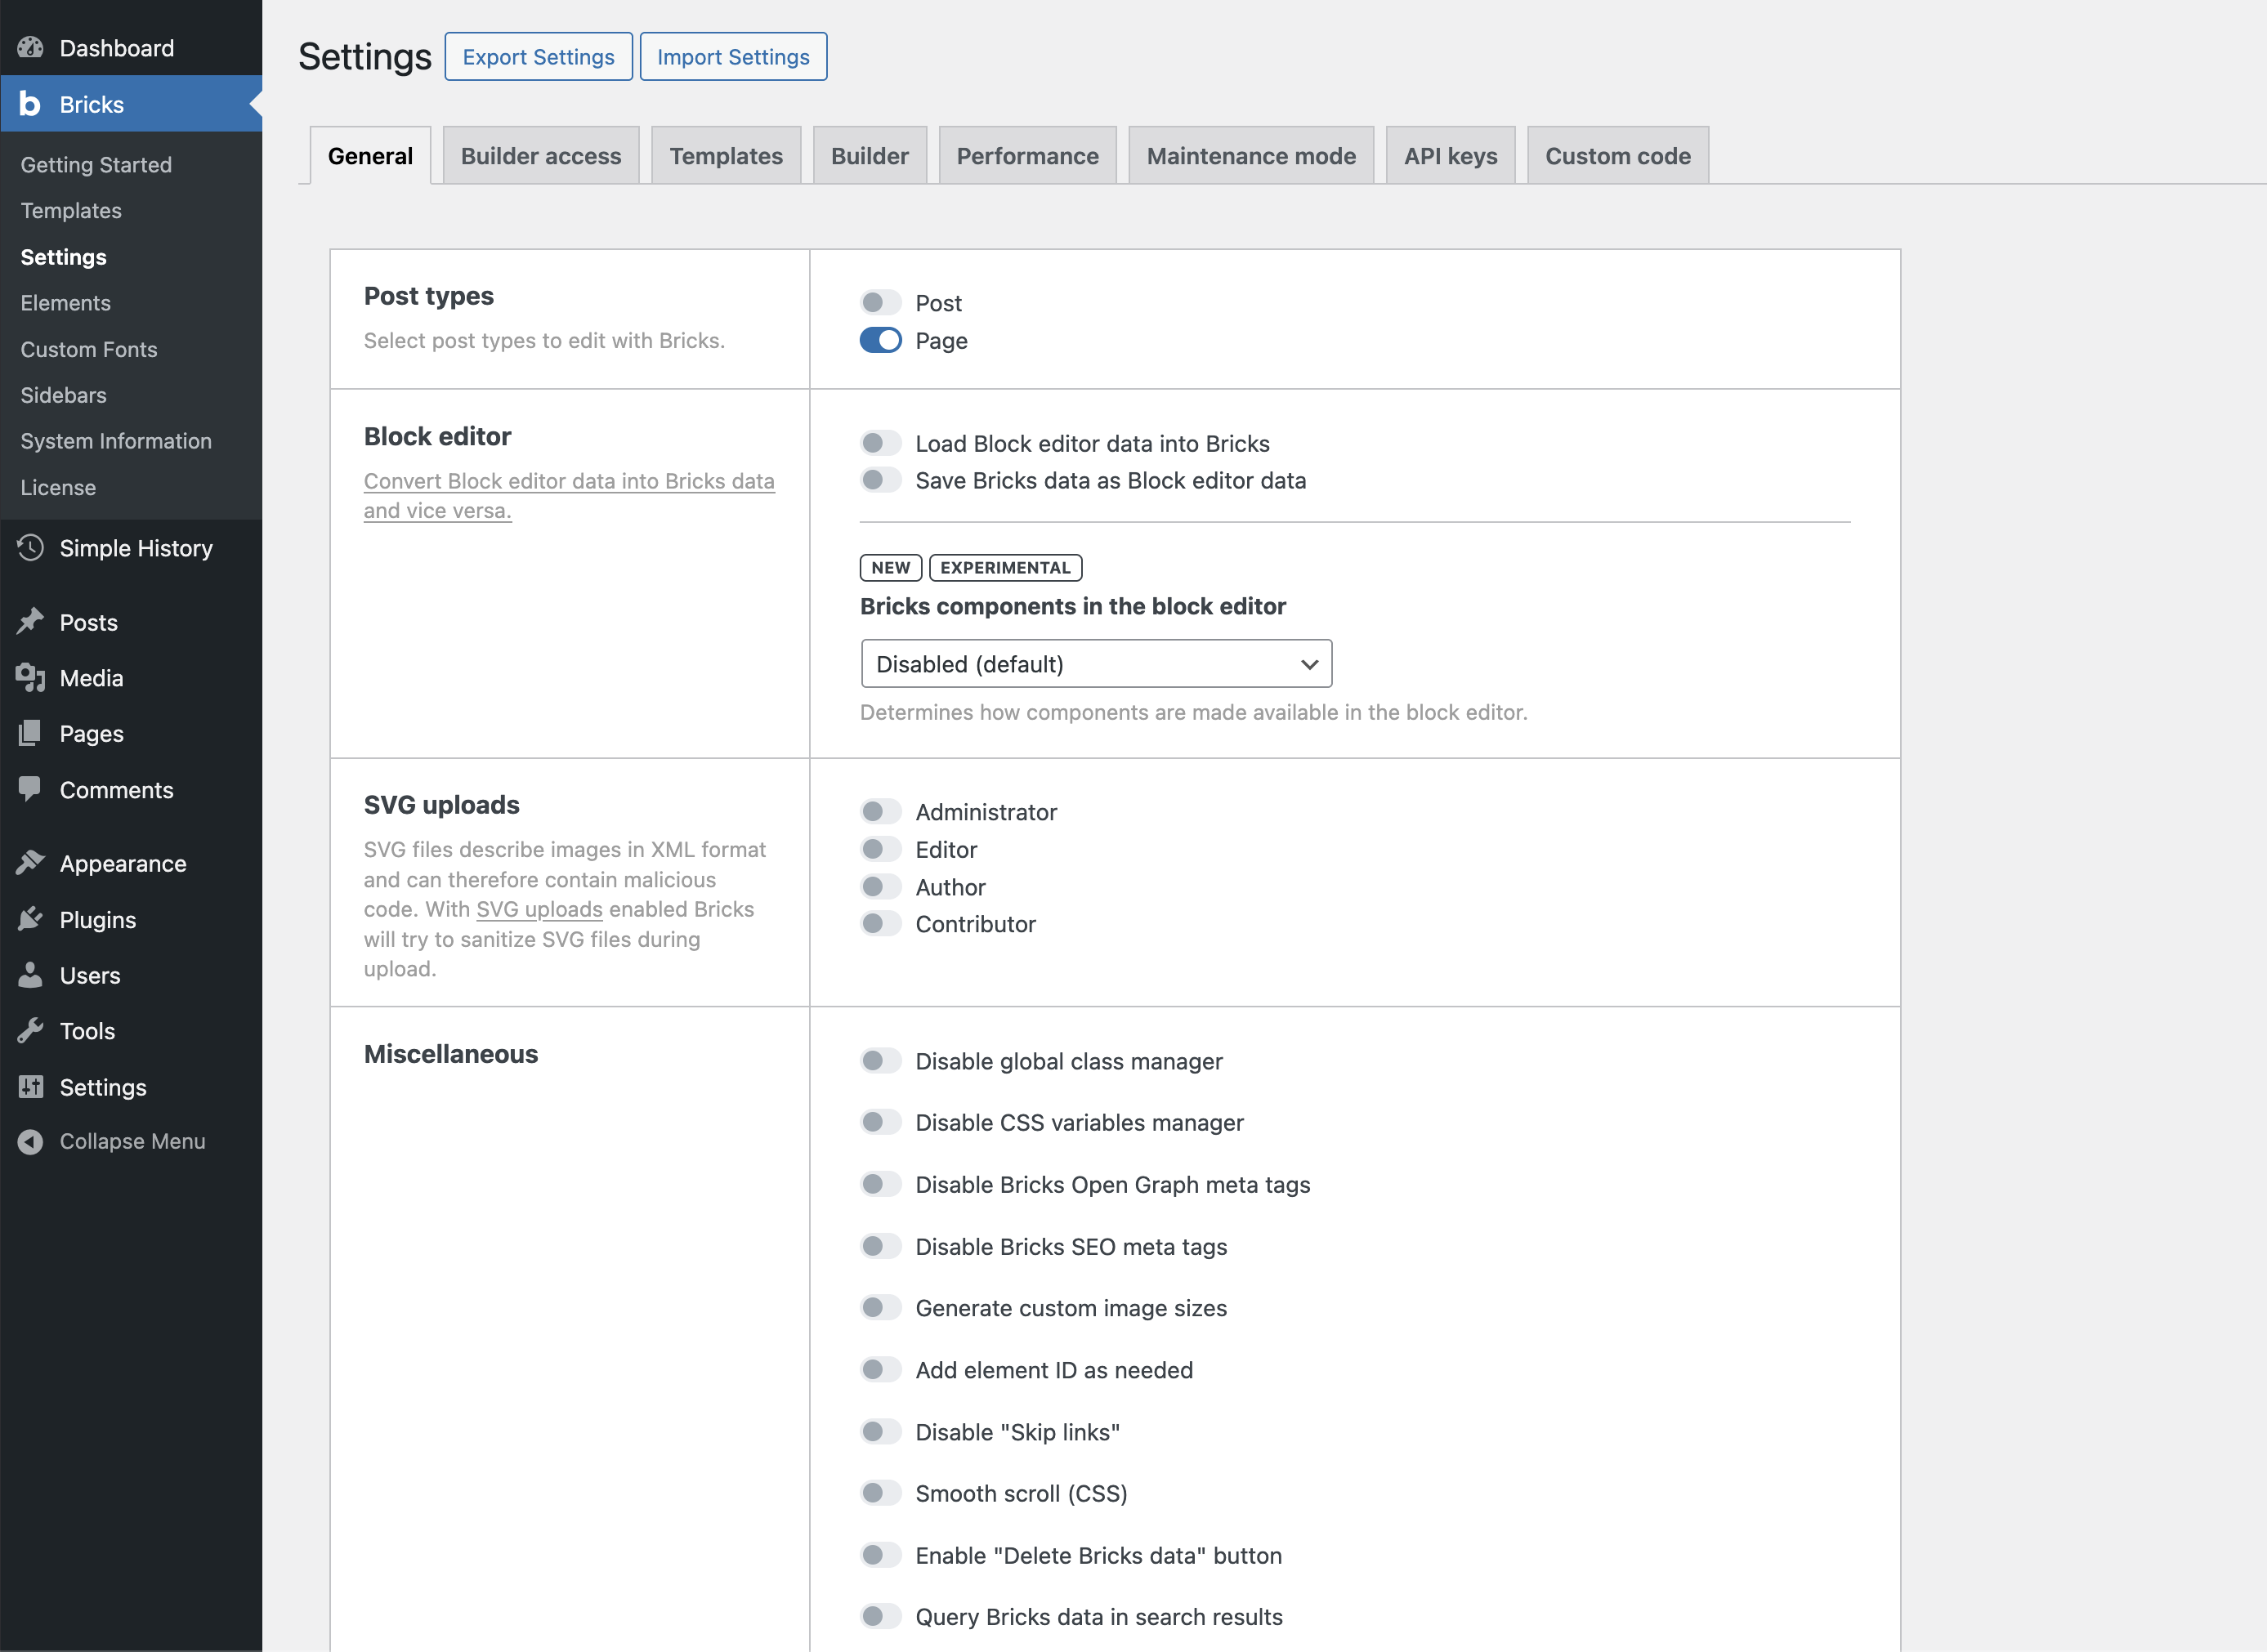
General tab
Section titled “General tab”Post types - Select which post types you want to edit with Bricks. Pages are enabled by default.
The key principle: only enable Bricks for post types where you want unique layouts for individual items. For regular blog posts that share the same layout, you’ll create a template instead (covered later).
For now, leave just Pages enabled.
WordPress data - Controls integration with Gutenberg content. For new sites, leave these disabled.
SVG uploads - Enable only for trusted users if you need SVG support. WordPress disables this by default for security reasons.
##Builder access tab
By default, only administrators can use Bricks. Here you can grant access to other roles:
- No access - Can’t open the builder
- Edit content - Can edit text and images, but not layouts or styles
- Full access - Complete builder access
Leave as default unless you have content editors or team members who need access.
Builder tab
Section titled “Builder tab”Autosave interval - How often Bricks auto-saves your work (default: 2 minutes)
Builder mode - Light or dark theme (aesthetic preference)
Logo link - Where the Bricks logo in the toolbar links to (optional workflow enhancement)
Performance tab
Section titled “Performance tab”Improve site speed by disabling WordPress features you don’t need:
- Disable emojis - Turn on unless you use WordPress emoji rendering
- Disable embeds - Turn on if you’re not embedding external content
- Disable jQuery Migrate - Turn on for modern sites
These are safe to enable and improve performance.
Other tabs
Section titled “Other tabs”Templates - Template-specific settings (leave defaults for now)
API keys - Store API keys for Google Maps, Unsplash, etc. (add when needed)
Custom code - Global CSS/JavaScript (use later as needed)
Export/Import - Backup or transfer your Bricks configuration
Settings tabs overview
Section titled “Settings tabs overview”Here is a quick mental model for each tab:
- General: Global behavior (which post types Bricks can edit, how theme styles load, forms, query filters, custom breakpoints, etc.)
- Builder access: Which user roles can open the builder and what level of access they have
- Templates: How templates are displayed and managed in the WordPress admin
- Builder: Builder interface behavior (toolbar link, breadcrumbs, structure panel actions, import behavior, etc.)
- Performance: Tweaks to improve performance by disabling features you may not need
- Maintenance mode: Options for enabling a maintenance page while you work on the site
- API keys: Storage for external service keys (Google Maps, Unsplash, etc.)
- Custom code: Area for global CSS and JavaScript
- WooCommerce (only visible if WooCommerce is active): Options specific to Bricks’ WooCommerce integration
Not all of these tabs are used directly in this getting started series, but it helps to know roughly what lives where.
Recommended defaults for this series
Section titled “Recommended defaults for this series”These are opinionated defaults that work well for most new projects. You do not have to set them exactly like this, but they give you a solid starting point.
-
General
- Post types – Leave just Pages enabled for now. You will use templates for posts later.
- WordPress data – Leave disabled on new sites.
- SVG uploads – Enable for administrators only if you plan to use SVGs.
- Theme styles → Loading method – Set to Load all matching theme styles.
- Form submissions – Enable Save form submissions in database if you will use Bricks forms.
- Query filters – Enable Query sort / filter / live search so query filter features are available when needed.
- Custom breakpoints – Enable only if you know you need custom breakpoints; otherwise you can leave this off and rely on the defaults.
-
Builder access
- Leave as default (administrators only) unless you have editors who need Bricks access.
-
Templates
- Template screenshots – Enable to generate visual screenshots of templates.
- Template thumbnail column – Enable to show those screenshots in the template list.
-
Builder
- Toolbar logo link – Set this to WordPress dashboard or wherever you prefer the Bricks logo to link.
- Control panel → Element breadcrumbs – Set to Show default element names for clearer labels (Section, Container, Block, etc.).
- Structure panel → Element actions – Enable Duplicate, Delete, and Expand active element & scroll into view.
- Element actions → Import pasted images/SVGs – Enable if you want Bricks to automatically import pasted assets.
- (Other Builder options like autosave interval or dark/light mode are personal preference and can stay at their defaults.)
-
Performance
- Disable emojis – Enable unless you rely on WordPress emoji rendering.
- Disable embeds – Enable if you are not using WordPress oEmbed.
- Disable jQuery Migrate – Enable for modern sites that do not depend on old jQuery plugins.
- Disable class chaining – Enable Disable chaining element & global class if you want simpler CSS selectors and fewer specificity surprises.
Recommended approach
Section titled “Recommended approach”For your first site, the defaults work well. As you build and encounter specific needs, you’ll know which settings to adjust.
You do not need to memorize any of this. Treat this article as a reference you come back to when a concrete need shows up (“I need editors to use Bricks”, “I want to disable embeds”, etc.).
Want detailed explanations of every setting? Check the complete Settings documentation.
What you’ve accomplished
Section titled “What you’ve accomplished”You now have:
- Bricks configured with sensible defaults
- Performance optimizations enabled
- An understanding of where to find settings when you need them